

Table of Contents
Discover solutions for a mould ejection lever stuck issue and regain control over your equipment. Troubleshooting tips and insights await.
A mould ejection lever getting stuck can be a frustrating issue for injection moulders. This comprehensive guide covers everything you need to know about dealing with a stuck ejection lever and getting your mould back up and running quickly.
What is a Mould Ejection Lever Stuck?
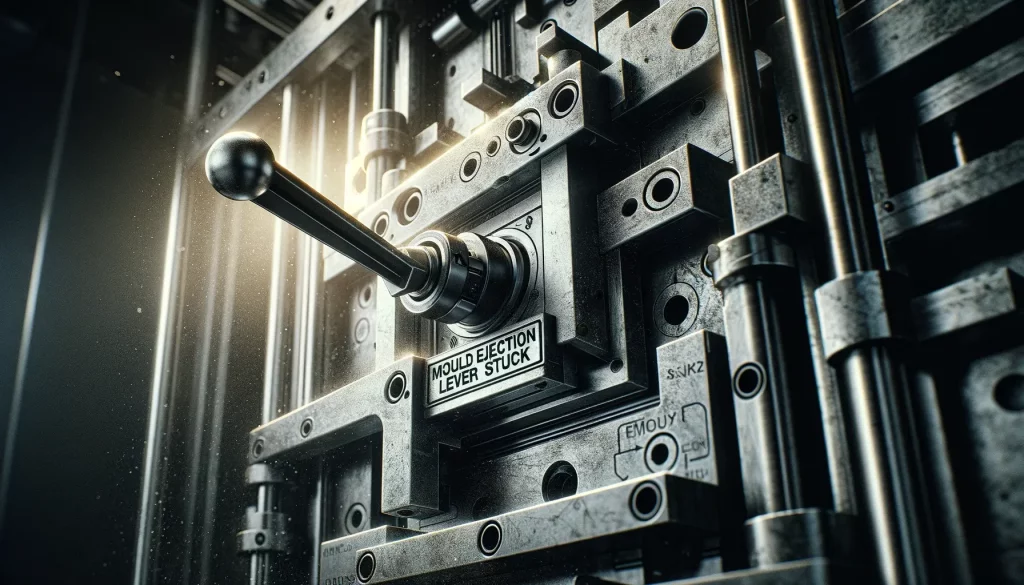
A mould ejection lever is a component on an injection mould that actuates the ejector system. When the mould opens after an injection cycle, the ejection lever pushes the ejector pins forward to eject the cooled and solidified part from the mould cavity.
The lever is connected to the ejector assembly and moves it back and forth each cycle. Proper ejection is critical for easy part removal and continuous production.
Common Causes of a Mould Ejection Lever Stuck
There are several potential causes of an ejection lever getting stuck:
The buildup of Plastic in the Assembly
Over time, molten plastic can leak into the ejection system and solidify, impeding the ejector pins’ motion. This plastic buildup jams the assembly and prevents the lever from moving smoothly.
Contamination in the Mold
Dirt, debris, or foreign objects in the mould can make their way into the ejection assembly. This can physically block the components from moving properly.
Mechanical Failure
Components like springs, rods, and pins in the ejector system can wear out or break over time. This mechanical failure will seize up the lever’s motion.
Improper Lubrication
Lack of lubrication or using the wrong lubricant can cause the ejection components to bind and stick. This increases friction and resistance.
Misalignment
If the ejection assembly is not properly aligned, it can easily jam. The components are precision machined and even small deviations can prevent smooth operation.
Dangers of Operating with a Stuck Lever
It may be tempting to continue production cycles even with a stuck ejection lever, but this is extremely risky:
- Parts will not properly eject, sticking inside the mould and damaging the cavity.
- Excessive force on the components can cause more severe breakage.
- Negative impacts on part quality by not fully ejecting.
- Damage to the mould itself over repeated cycling.
- Risk of injury to operators trying to force the lever.
The problems will compound rapidly. It’s critical to stop and resolve the stuck lever before proceeding.
Step-by-Step to Safely Unsticking the Lever
When encountering a stuck ejection lever, follow these steps to safely get it functioning again:
1. Stop the machine immediately
As soon as the stuck lever is noticed, stop the injection moulding machine cycle. This prevents any further damage.
2. Remove residual plastic from the mould
If there are any parts still stuck in the cavities, carefully remove them to avoid damage. This gives full access to the ejection components.
3. Allow the mould to cool completely
Ensure the entire mould has cooled to room temperature before attempting repair. This prevents burns and makes disassembly safer.
4. Disassemble the ejection assembly
Referring to the parts diagram, methodically disassemble the ejector system to expose the stuck components. Note the position of parts.
5. Inspect for damage and foreign debris
Look for any broken components like springs or retainers. Check for dirt, plastic chunks, or other debris that may be jamming the lever.
6. Clean thoroughly
All surfaces and parts should be cleaned to remove contaminants. A solvent wash may be needed to remove stuck plastic.
7. Relubricate components
Apply a high-quality mould lubricant to the ejector pins, bushings, and lever joints per manufacturer specs.
8. Reassemble and align ejection system
Carefully reassemble the ejector assembly, ensuring alignment is precise according to the mould diagram.
9. Test lever motion
Cycle the ejection lever slowly by hand to verify smooth operation before reinstalling the mould. Correct any binding or sticking issues.
10. Bring mould back into production
Once full lever motion is confirmed, reinstall the mould and run production cycles cautiously, watching for proper part ejection.

Preventing Ejection Lever Sticking
To minimize stuck ejection levers from recurring:
- Perform planned maintenance at scheduled intervals.
- Inspect the assembly periodically for wear, contamination or misalignment.
- Use mould lubricants designed for ejector systems.
- Ensure proper alignment is maintained through the mould’s service life.
- Clean any plastic leaks quickly before they can solidify.
- Replace worn components like springs and pins preventatively.
With proper care, most ejection levers provide years of trouble-free operation. But following the steps above will get a stuck lever freed up promptly.
Troubleshooting Sticking After Unsticking
In some cases, the ejection lever may become stuck again shortly after getting it freed up. This indicates an underlying issue that still needs addressed:
- Contamination – If plastic or debris remains in the system, it may re-jam the lever. Thorough cleaning and flushing will be required.
- Excessive Friction – Lack of lubrication can cause the lever to re-bind. Confirm proper lubrication over all surfaces.
- Worn Components – Damaged or worn parts will need to be replaced for smooth operation.
- Misalignment – Any issues with precision alignment must be corrected for long-term reliability.
- Plastic Leaks – Look for any small plastic leaks into the assembly and address at the source.
Taking the time to identify and resolve the root cause, rather than just unsticking, will prevent repeated problems with the ejection lever.
When to Seek Professional Mould Service
While many stuck ejection levers can be repaired in-house, it may be best to enlist professional mould service in some instances:
- If the mould has extensive damage or wear beyond simple fixes.
- Specialized disassembly/reassembly of complex multi-plate or stack moulds.
- If internal mould components are damaged and need replacement.
- For alignment/adjustment of precise ejector systems.
- If the plastic leak source cannot be resolved in-house.
- For full cleaning/refurbishment of contaminated or heavily worn moulds.
Mould service pros have specialized expertise, equipment, and capabilities to fully restore your injection mould to like-new operation. Click to read about Materialistic Princess Spoiler.

People also ask about Mould Ejection Lever Stuck
Why is the adamantine forge stuck?
The adamantine forge may be stuck due to a glitch in the game. Try reloading your save or restarting the game to fix it.
How do I activate the adamantine forge?
To activate the adamantine forge, you typically need to find and insert a specific item or complete a quest. Consult in-game hints or guides for the precise steps.
How do you get the Mould out of bg3?
Getting the Mould in Baldur’s Gate 3 might involve solving puzzles, defeating enemies, or exploring the world. Search thoroughly, and consult guides if needed.
How to hurt grym?
To hurt Grym, use attacks or abilities that target their weaknesses. Elemental weaknesses and status effects can be effective.
Why can’t I damage Grym?
Grym may have high resistance or immunity to your current attacks. Experiment with different damage types or abilities to find their vulnerability.